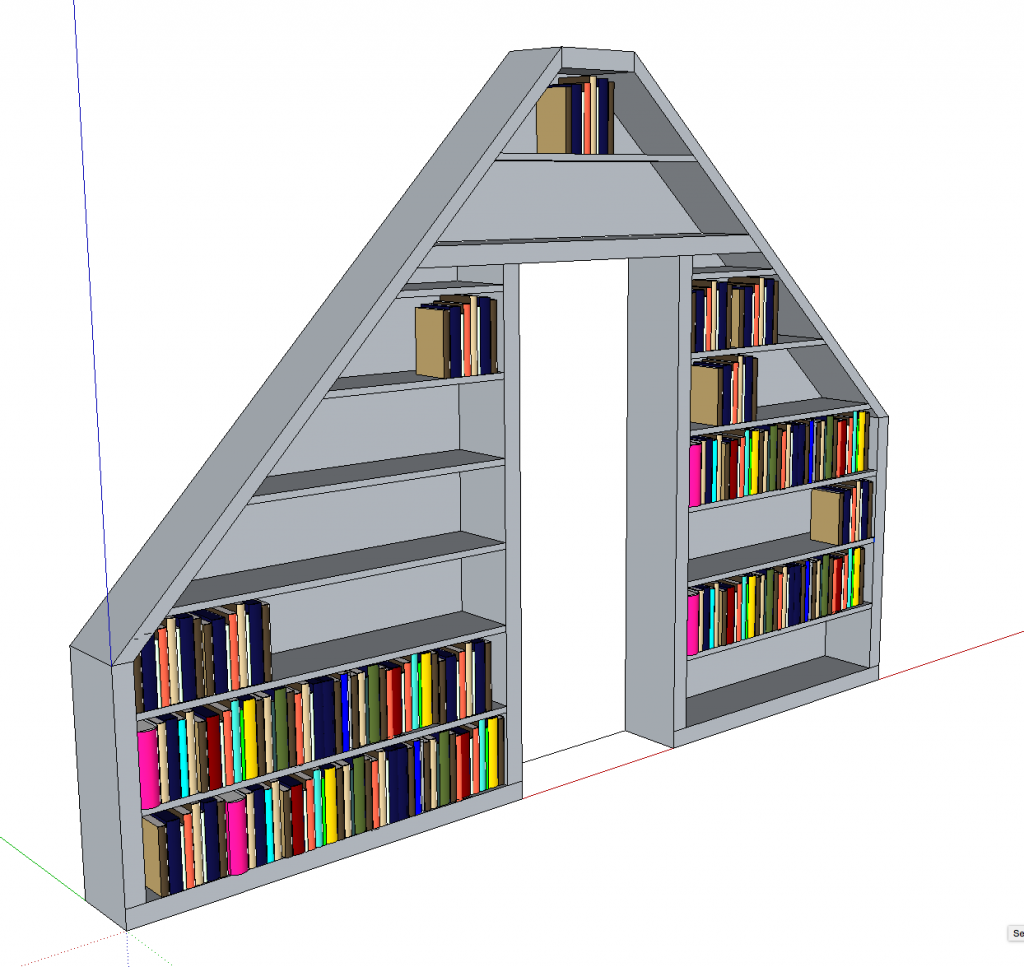
Back in 2011 over the Thanksgiving break, I was playing with learning how to do things in SketchUp and drew a 3d model of a bookcase idea I had for my office. My office is in the “1/2 story” (the third floor) of my house, which means low ceilings. In my 2008 remodel, I gutted it, rewired it, vaulted the ceiling, and so on.
About 16 months later in early 2013, I drew this picture and sent it to my architect, Carl Oldenburg:
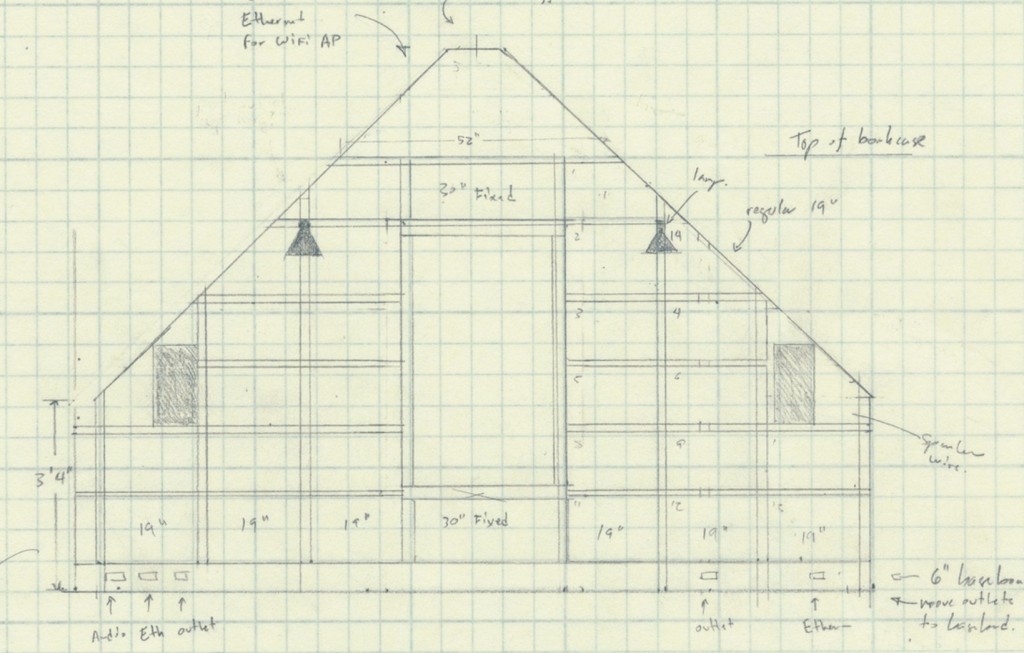
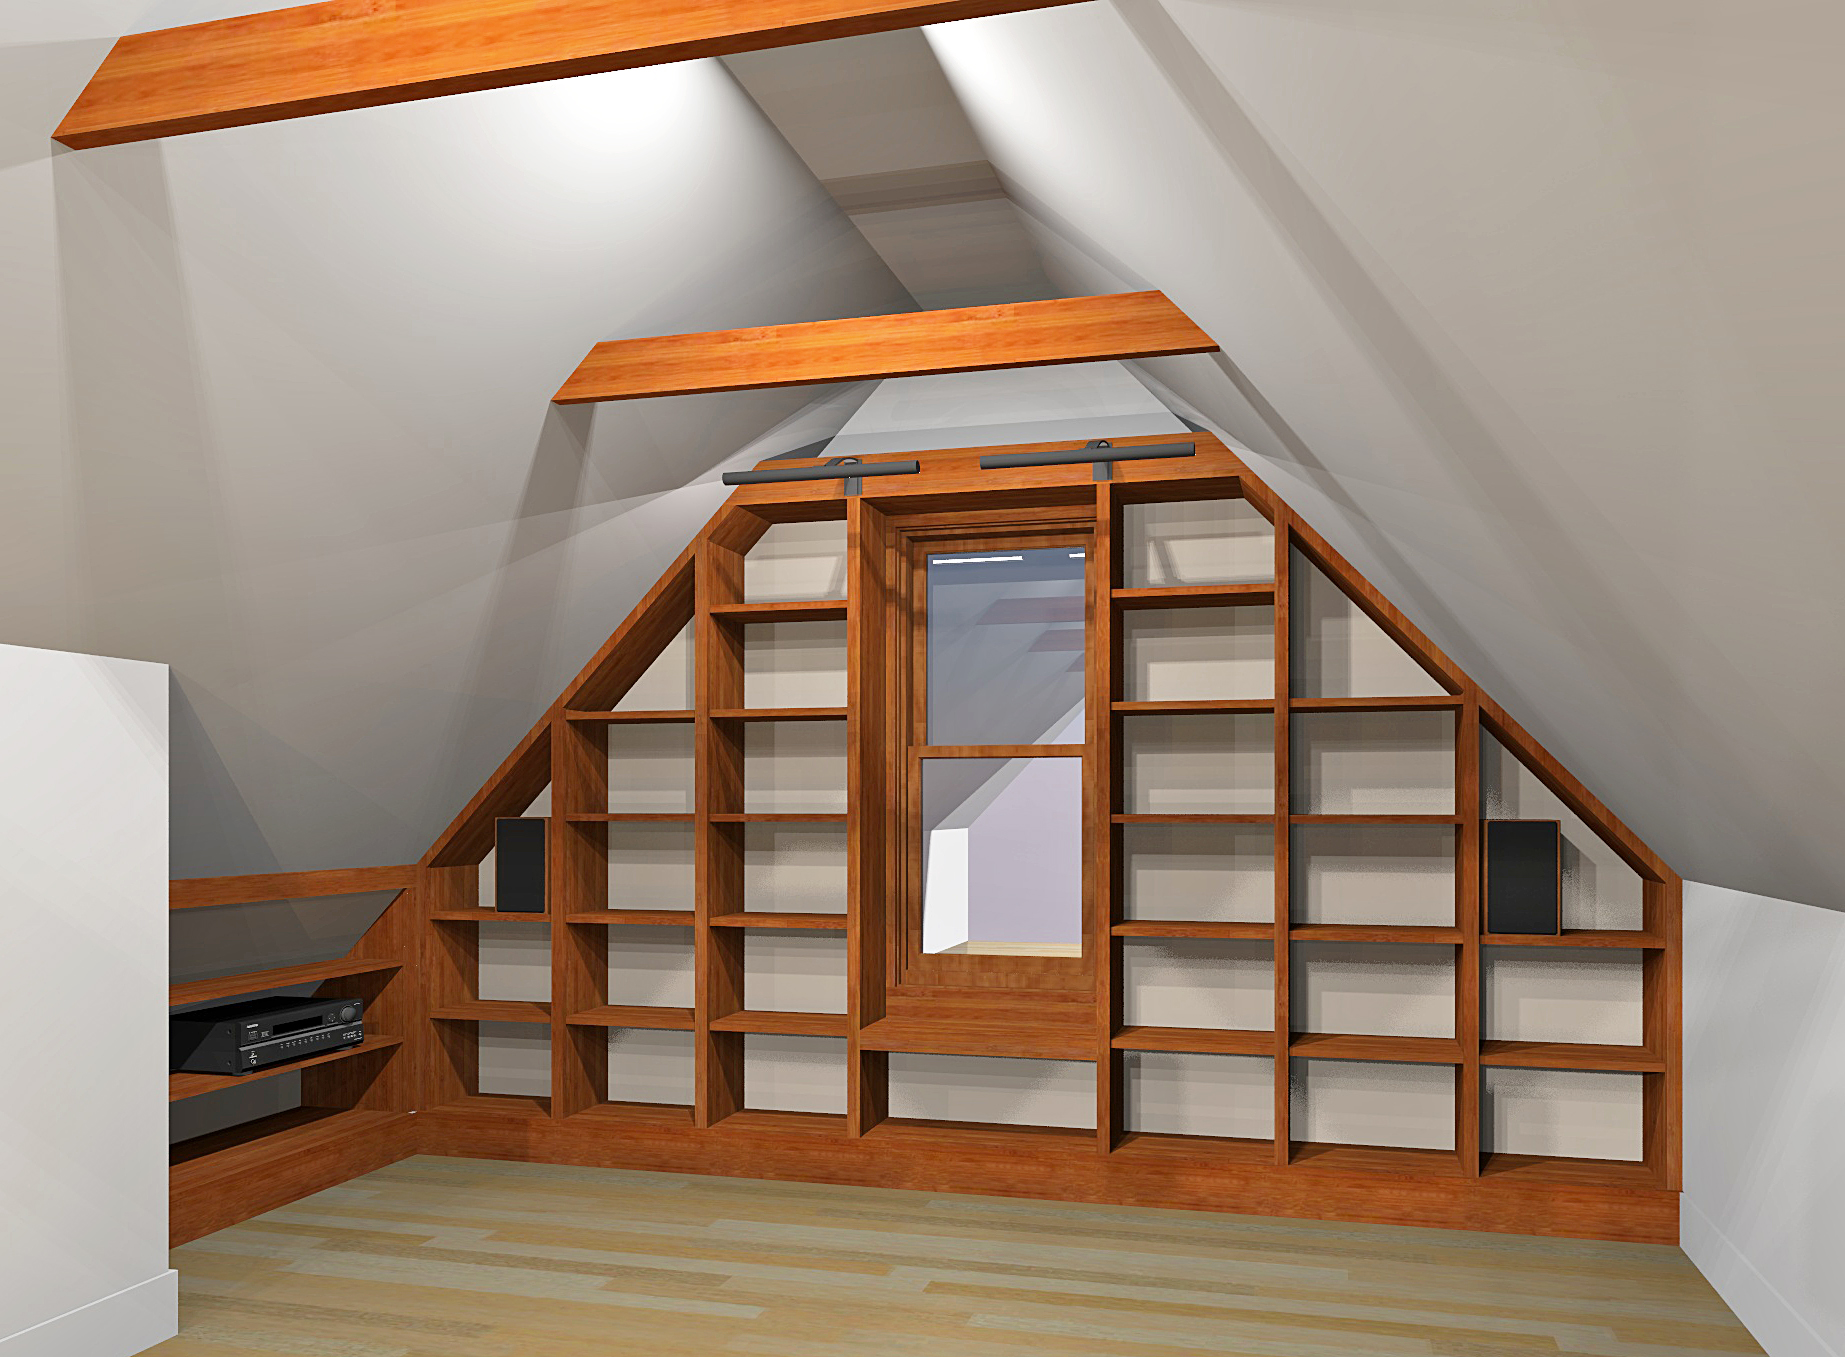
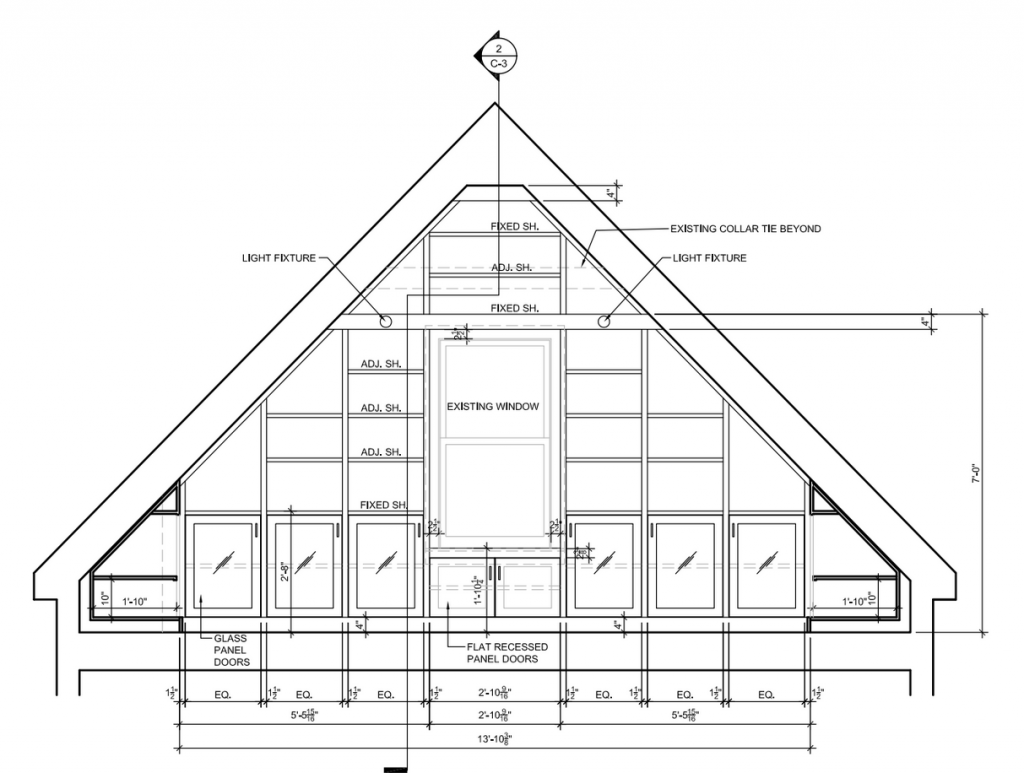
I have a lot of heavy books and wanted short spans to avoid bowing. Carl whipped up this awesome SketchUp rendering:
Who could say no to building that? Inspired by Carl’s skills, I spent some time practicing and playing with ideas. I really wanted to know what this was going to be like:
After various distractions, we had the design finalized by December 2013:
In early 2014, I got in touch with Aaron Honore, who is the most serious, hardcore, and awesome cabinetry carpenter I’ve known (and I’ve known more than one). Aaron was booked for 6 months, but I was willing to wait.
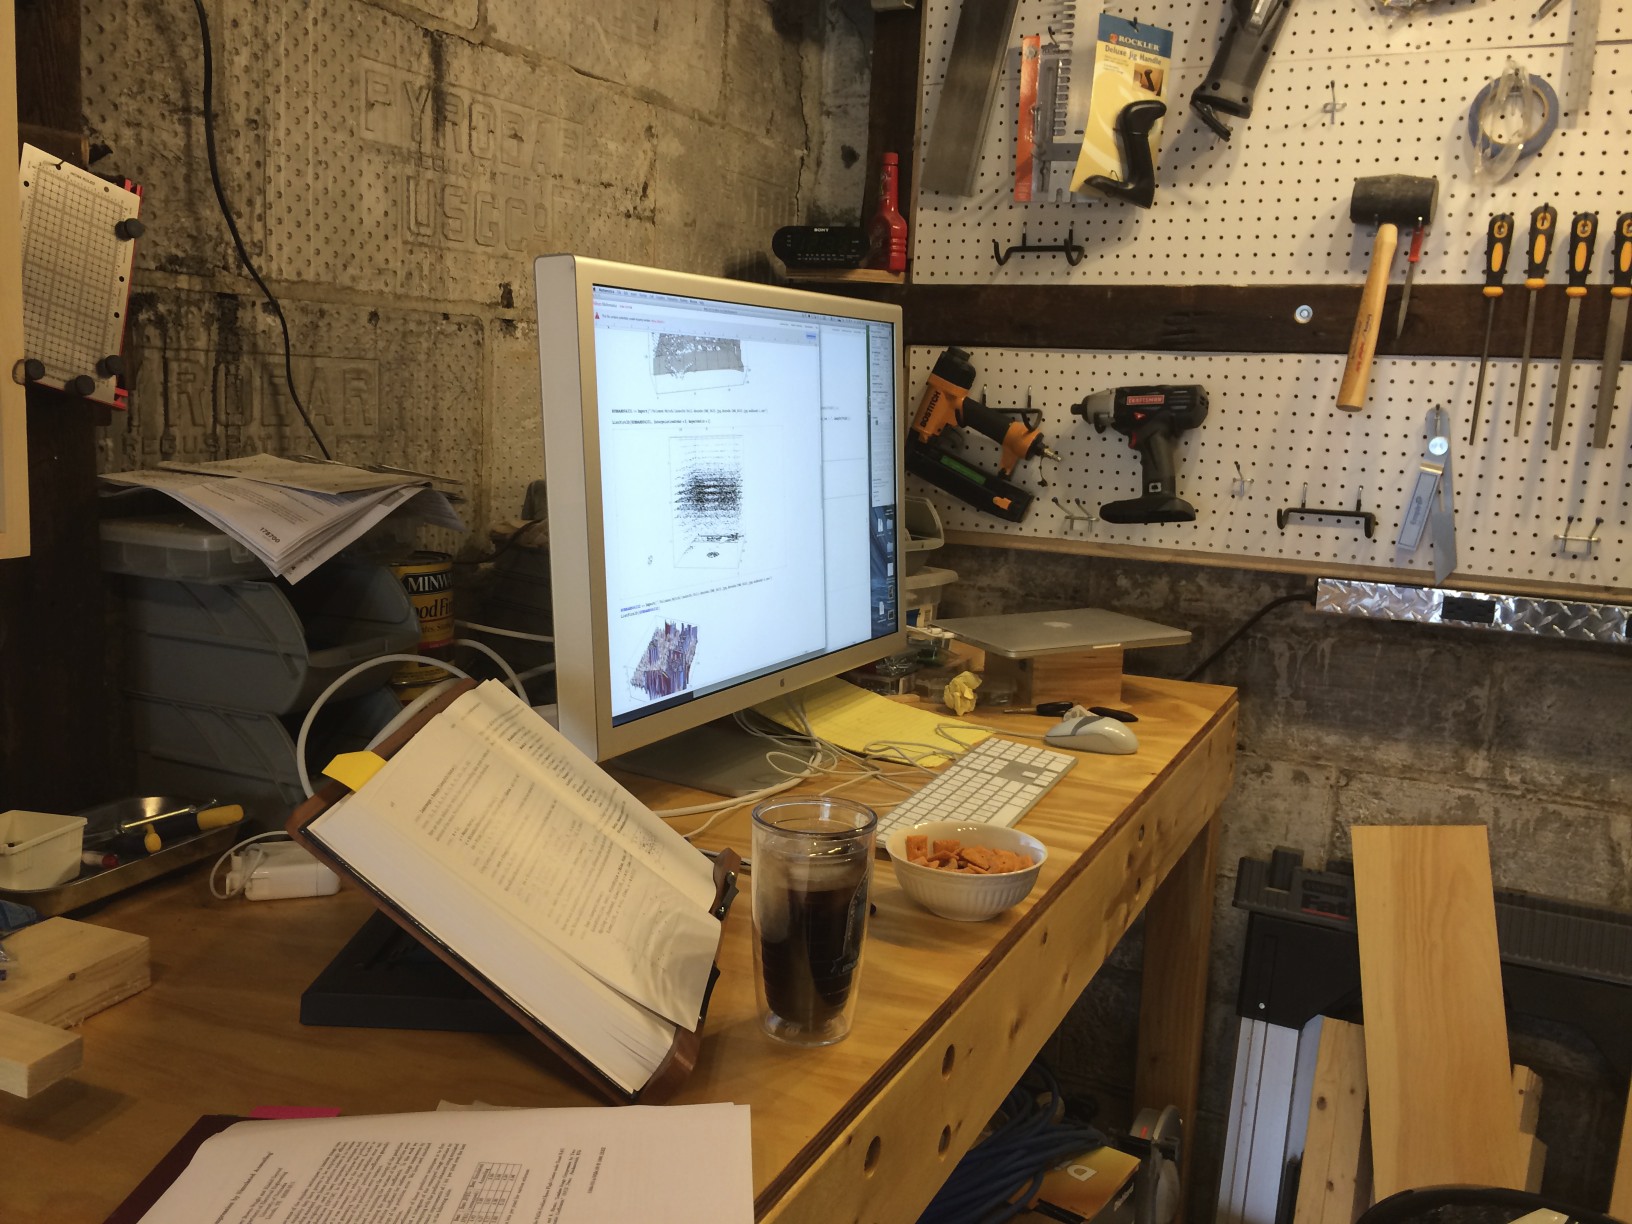
Construction finally happened in September 2014. I worked out of my workshop during this time:
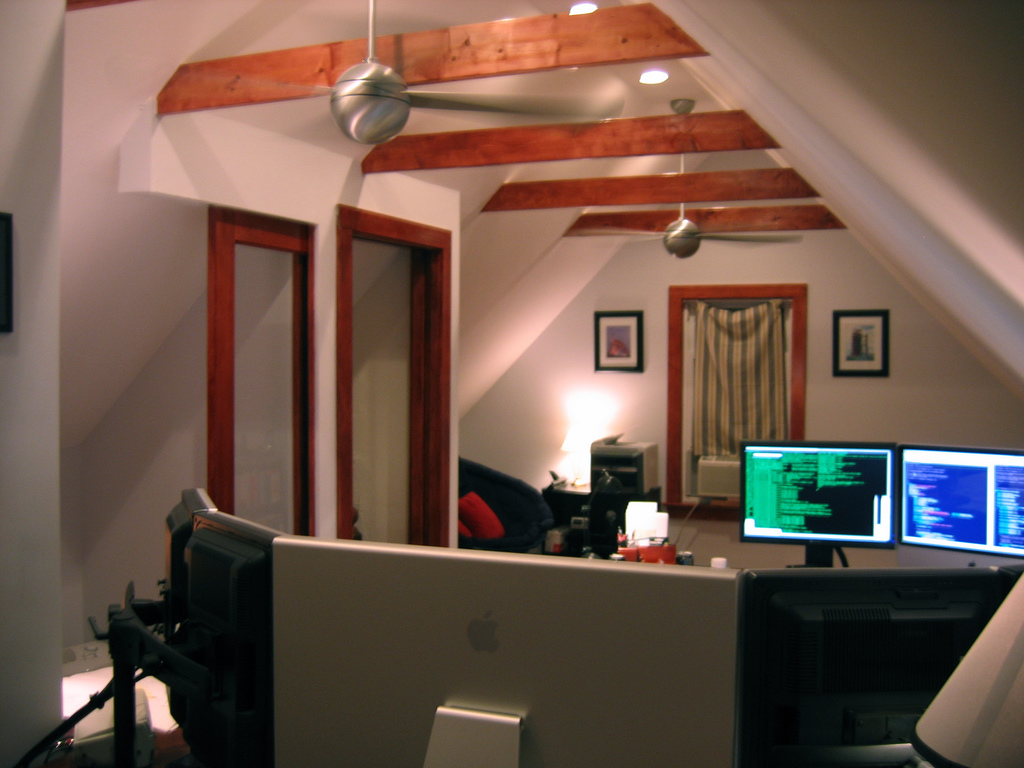
In 2008, before moving into the house, many rooms were gutted, the house was rewired, etc–this is what the front wall of office looked like about 4 months after moving in:
The below picture is what it looked like by the time Aaron was done with it. I think the install took about 2 weeks, I don’t really remember–certainly Aaron took his time and made it perfect:
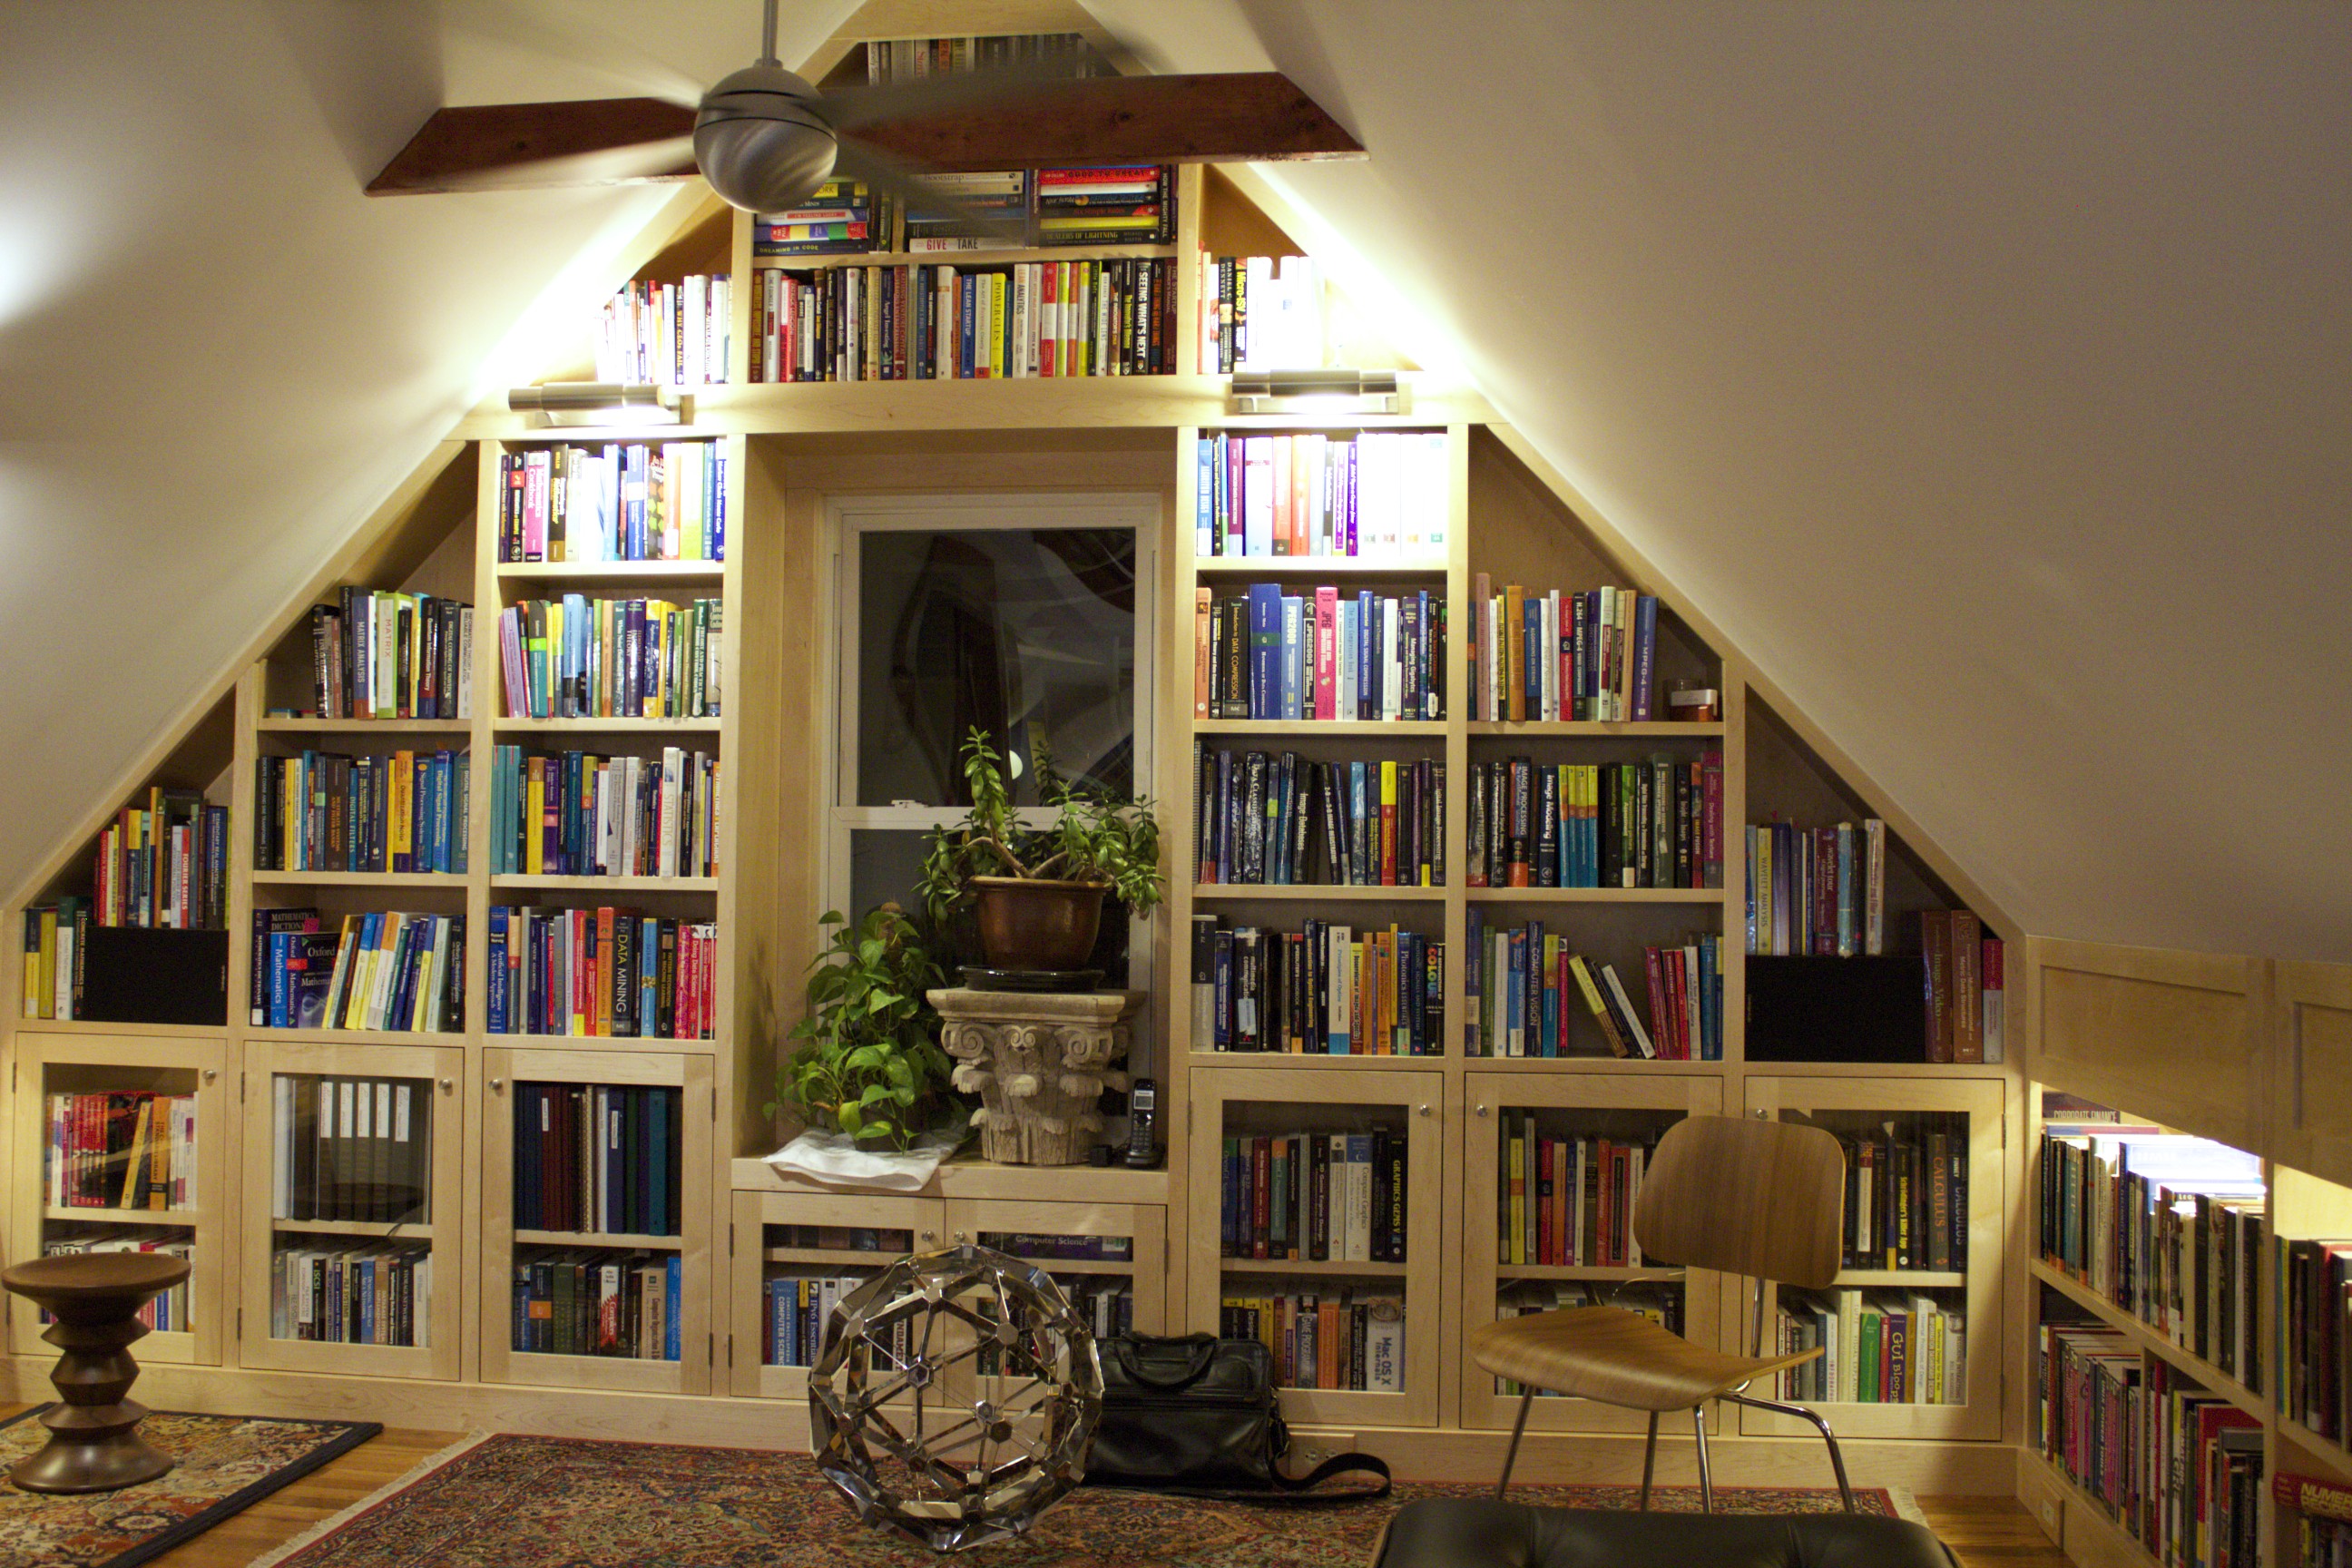
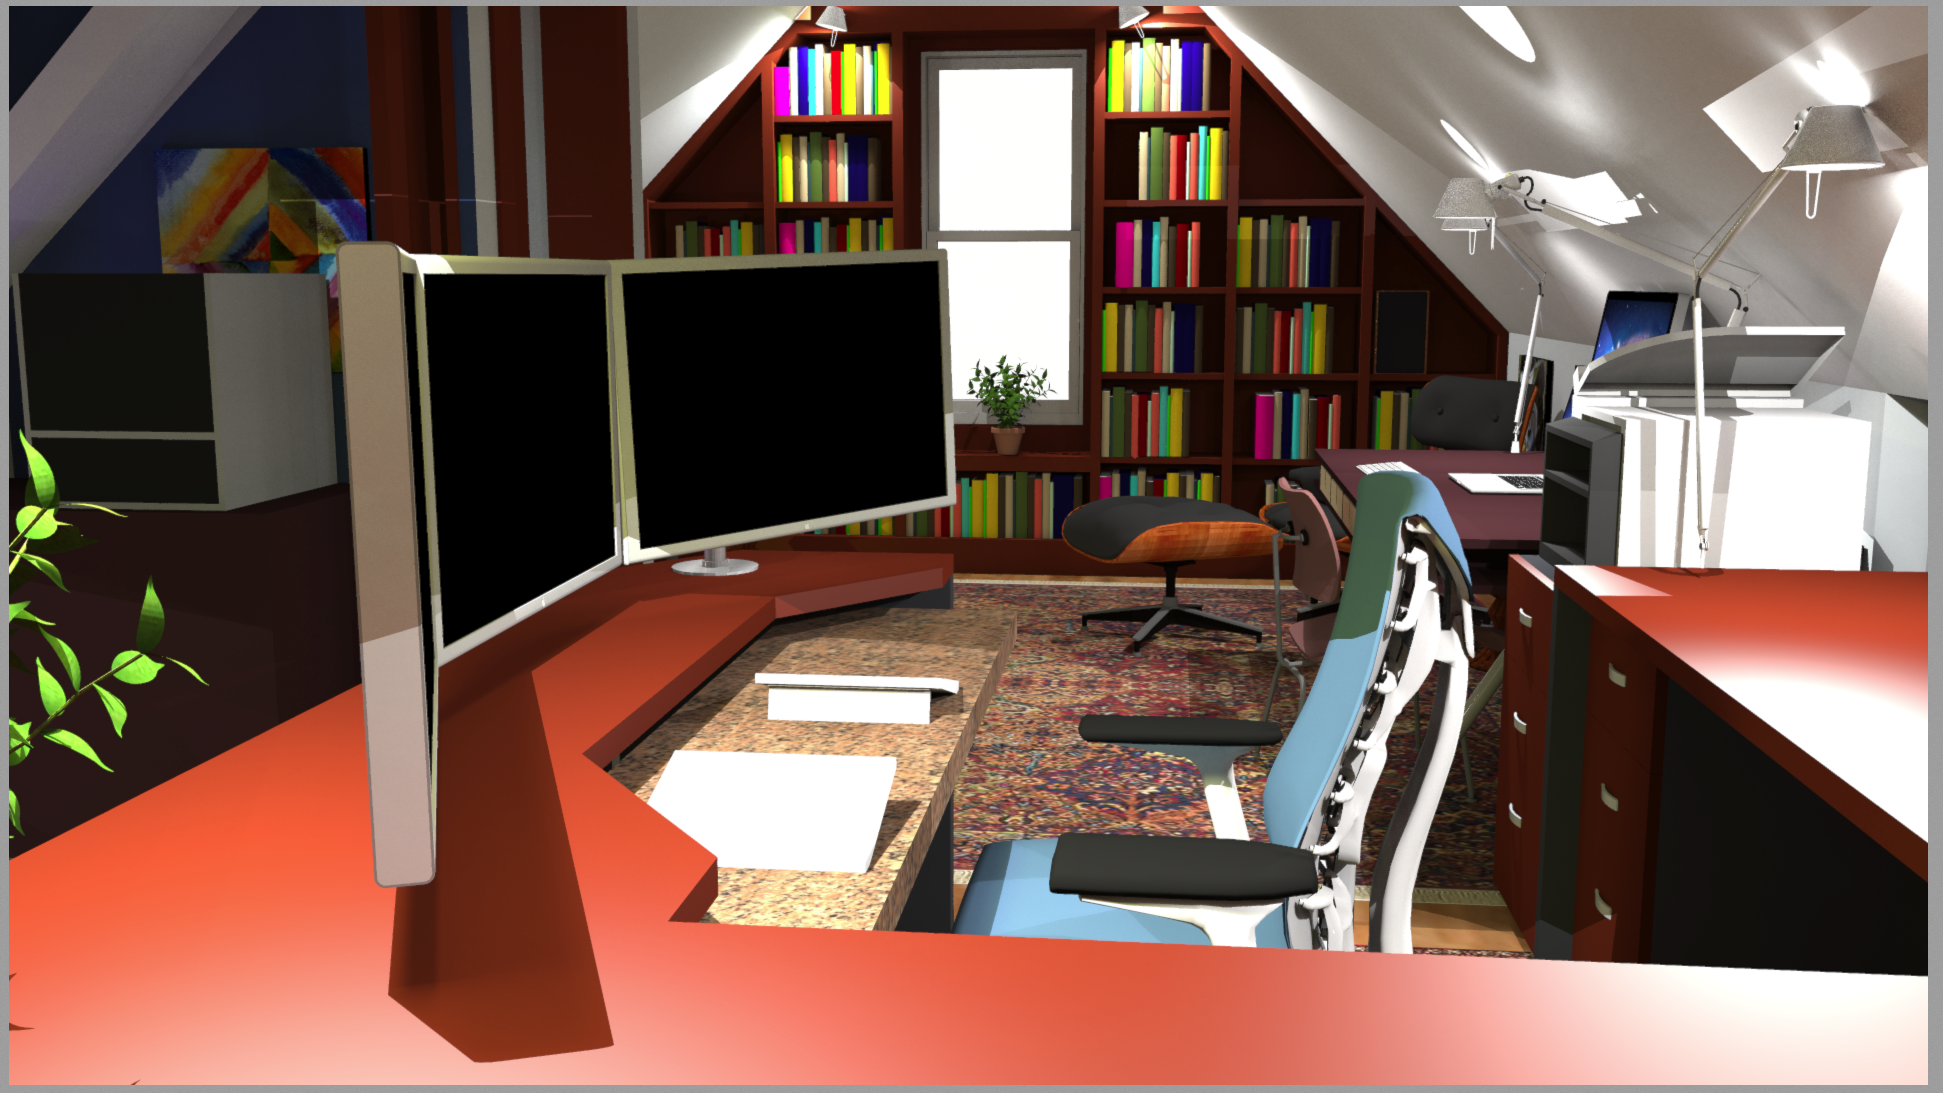
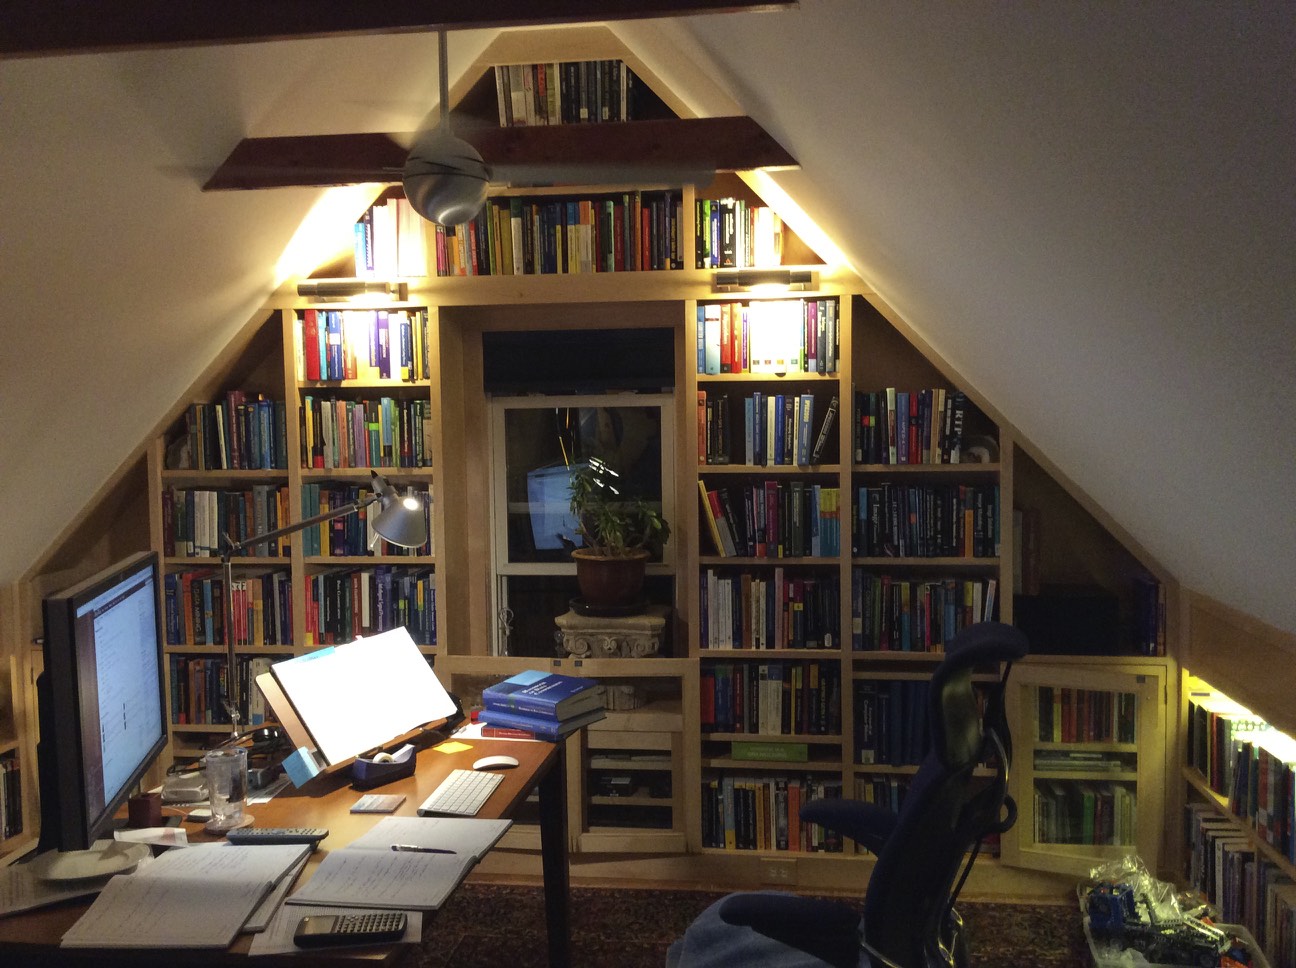
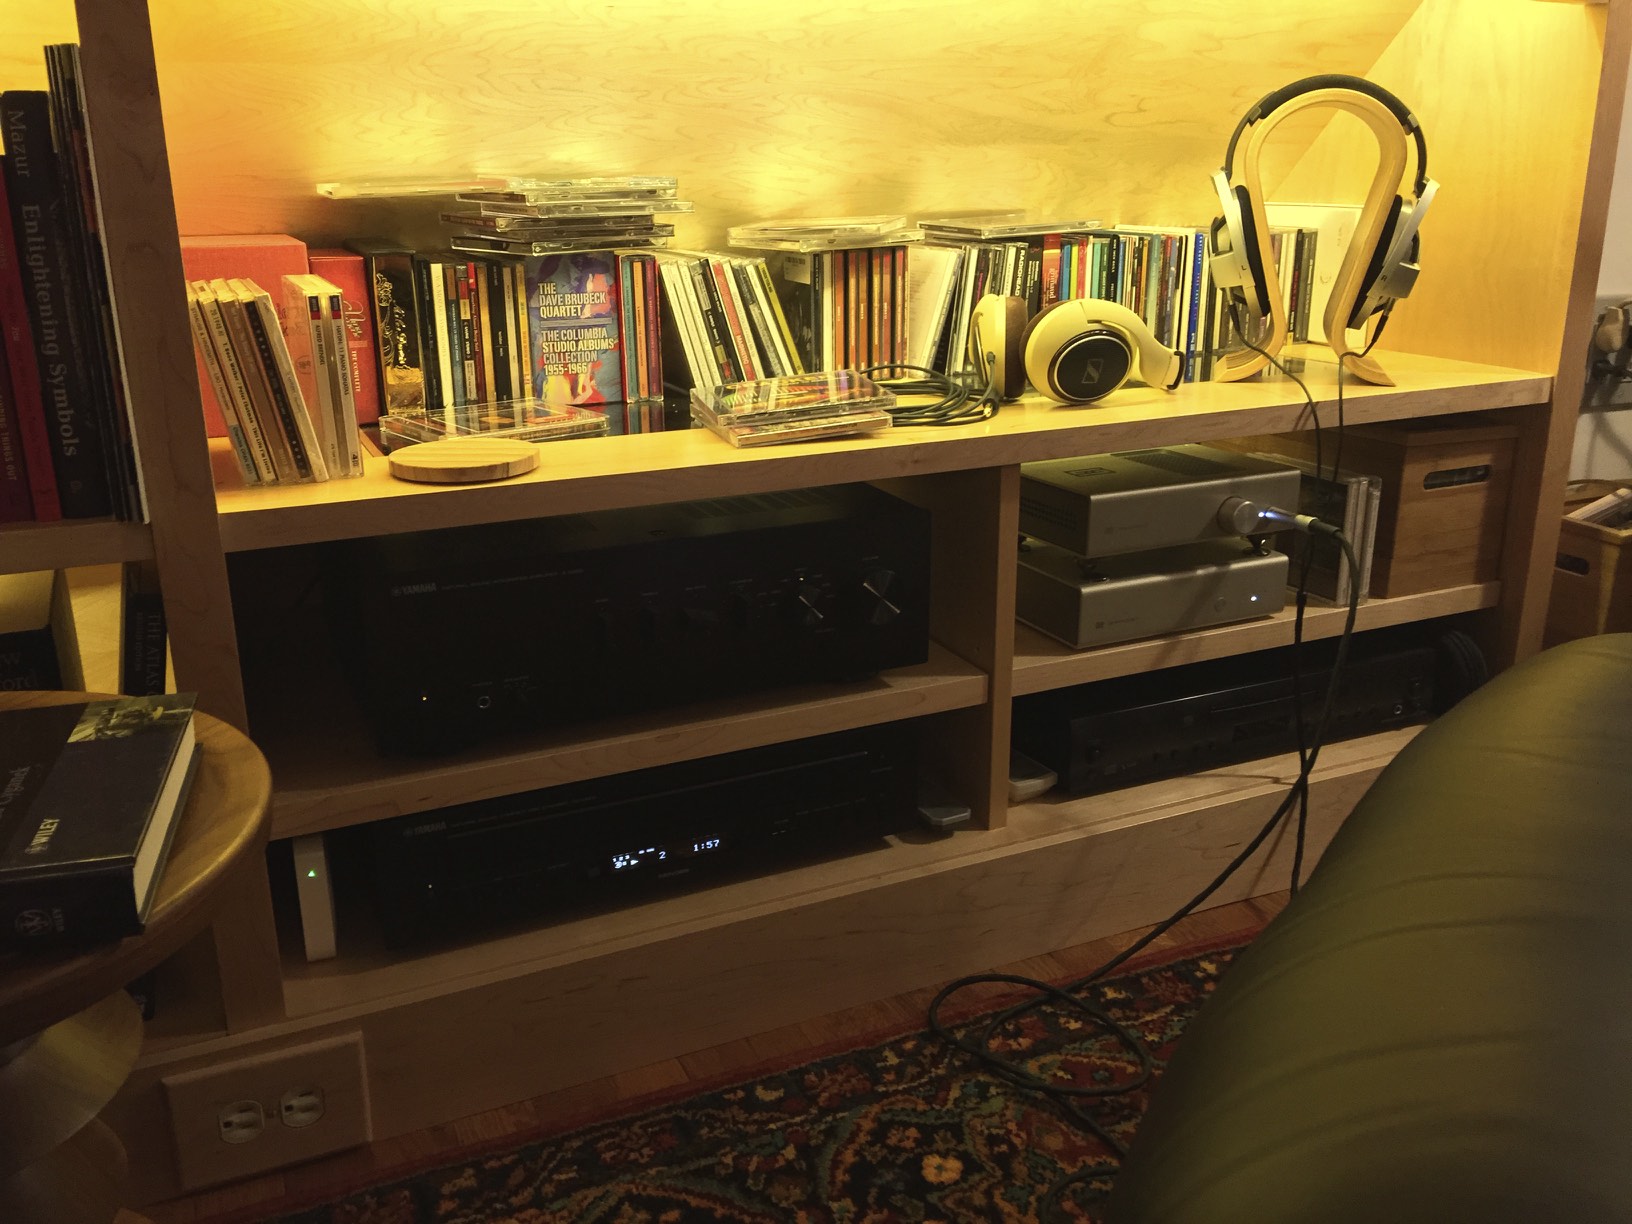
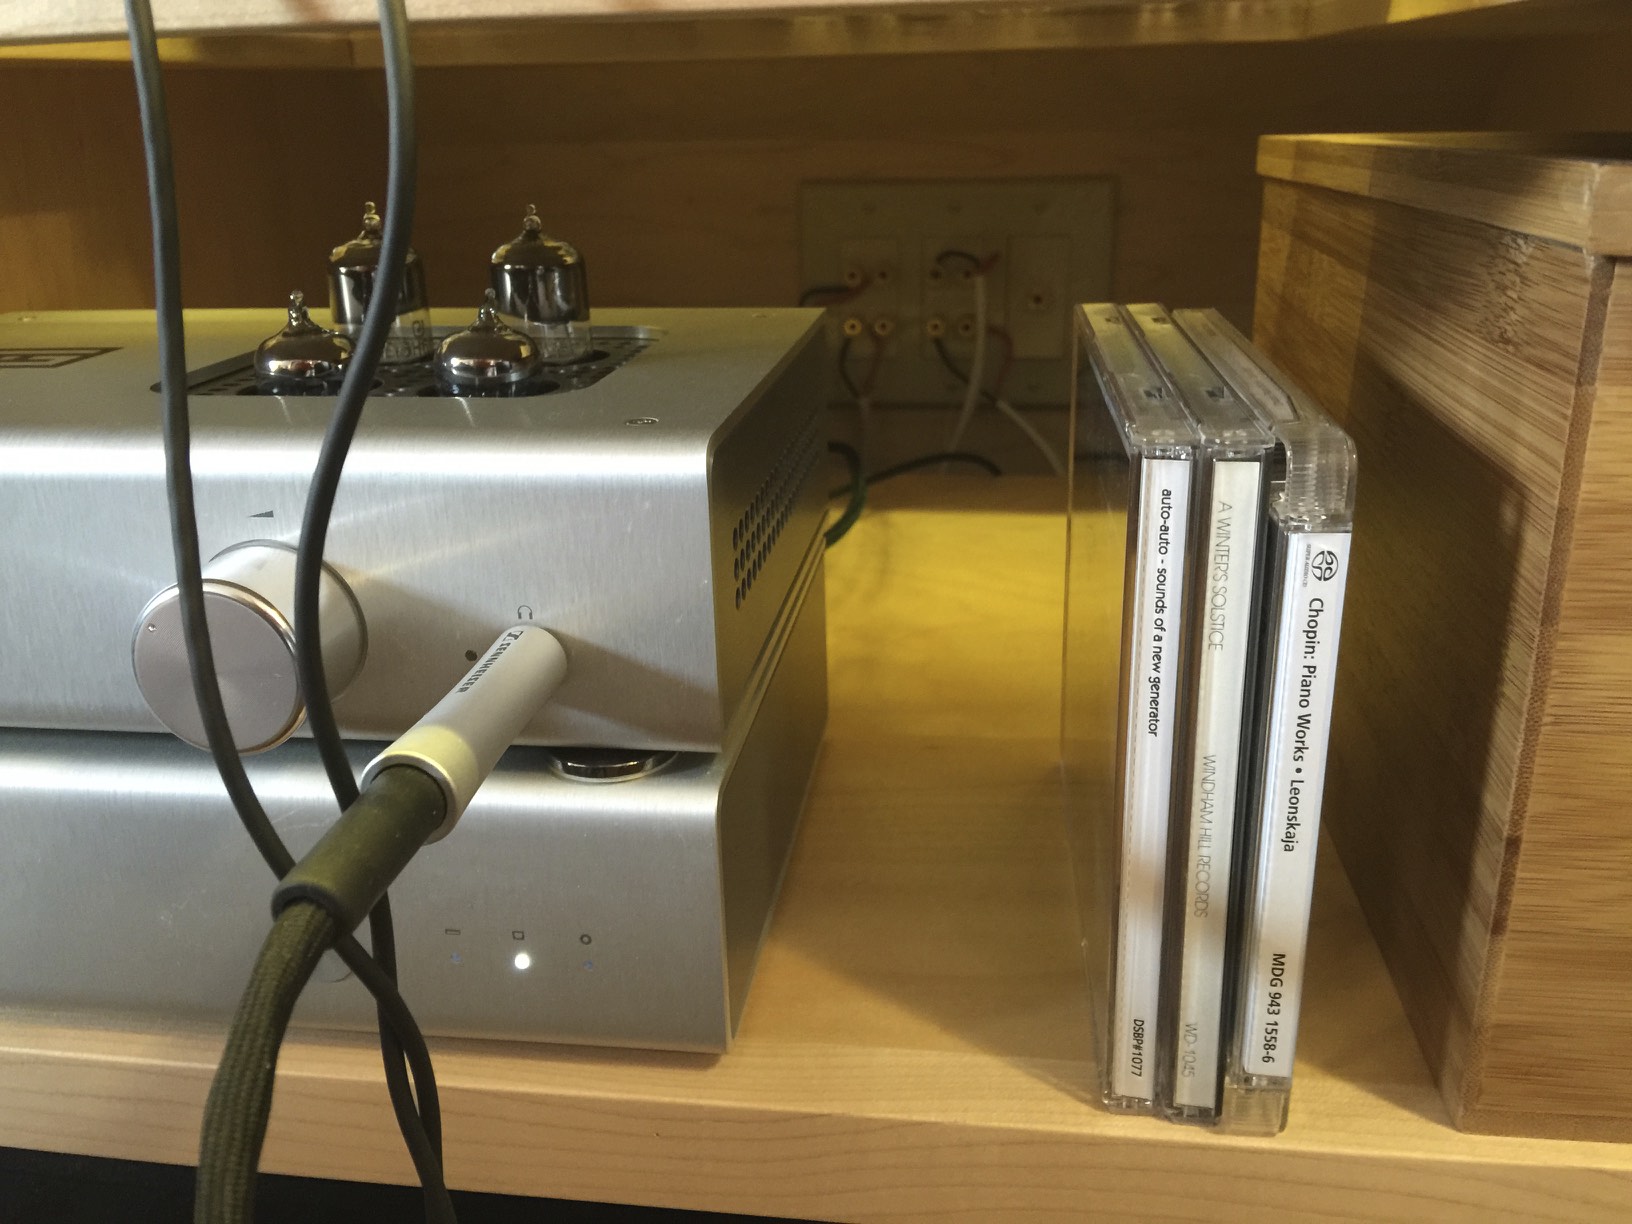
For such a small project, it was still quite an outlay of time and a bit of stress. But having had the bookcase now for 8 months, I have no regrets. I certainly took my time and thought it through in great detail. There’s a built-in stereo section that connects an amp to the old speaker wire drops I put in during the 2008 remodel, LED lights under the eaves and the wall lights in the ‘A’ are wonderful.
My house is small. I highly recommend built-ins for small living. You can use every bit of space, and there’s no gap between the storage and the wall, which in some cases, saved me 2-3″. By customizing the depth of built-ins to narrower-than-usual in some cases (my living room has a 10″ deep bookcase that is 14 ft long), I’ve saved an effective 5″ of space in a room. If a room is 12 ft across, that’s significant.
What’s the point of this post? Beats me. “Take your time and do it right,” perhaps.
Update: I realized after posting this that I didn’t mention some of the non-obvious features of the bookcase. Sure, you can tell from the photos there are lights and doors. For anyone thinking about doing this, here’s a few things I did that I really like:
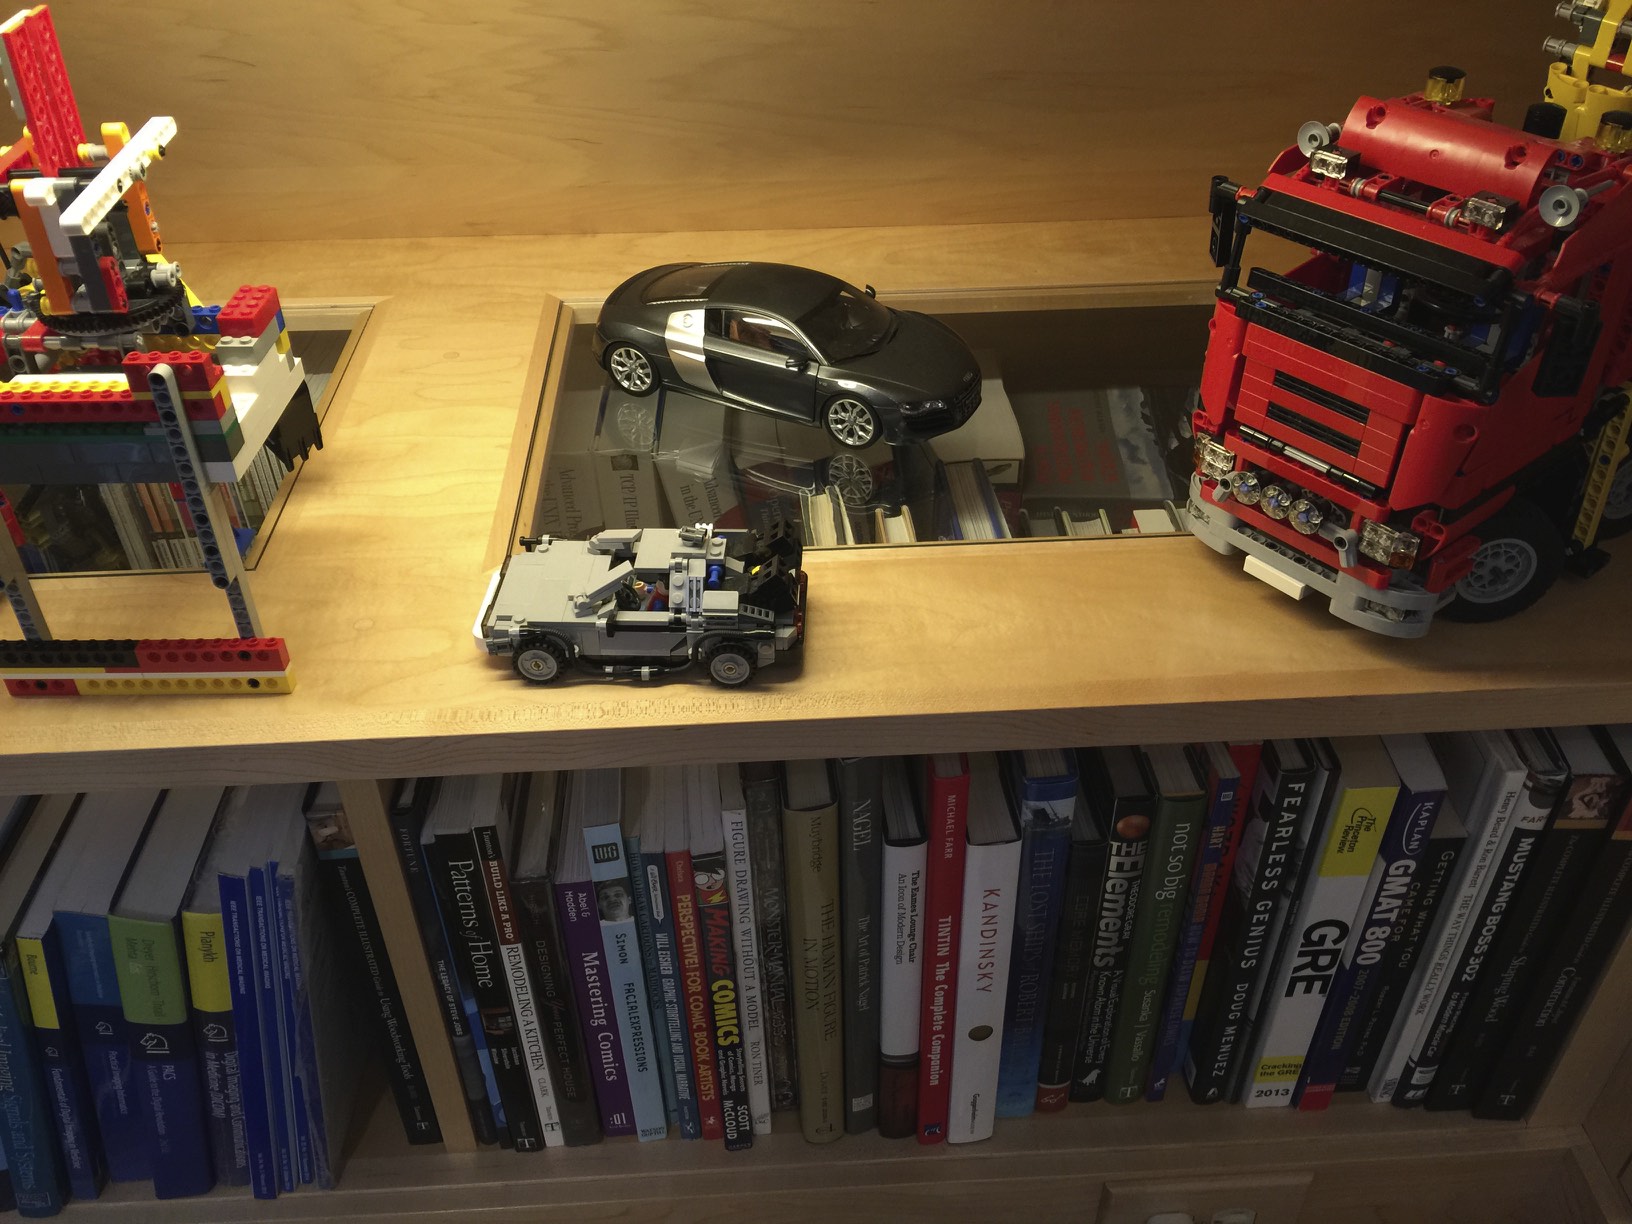
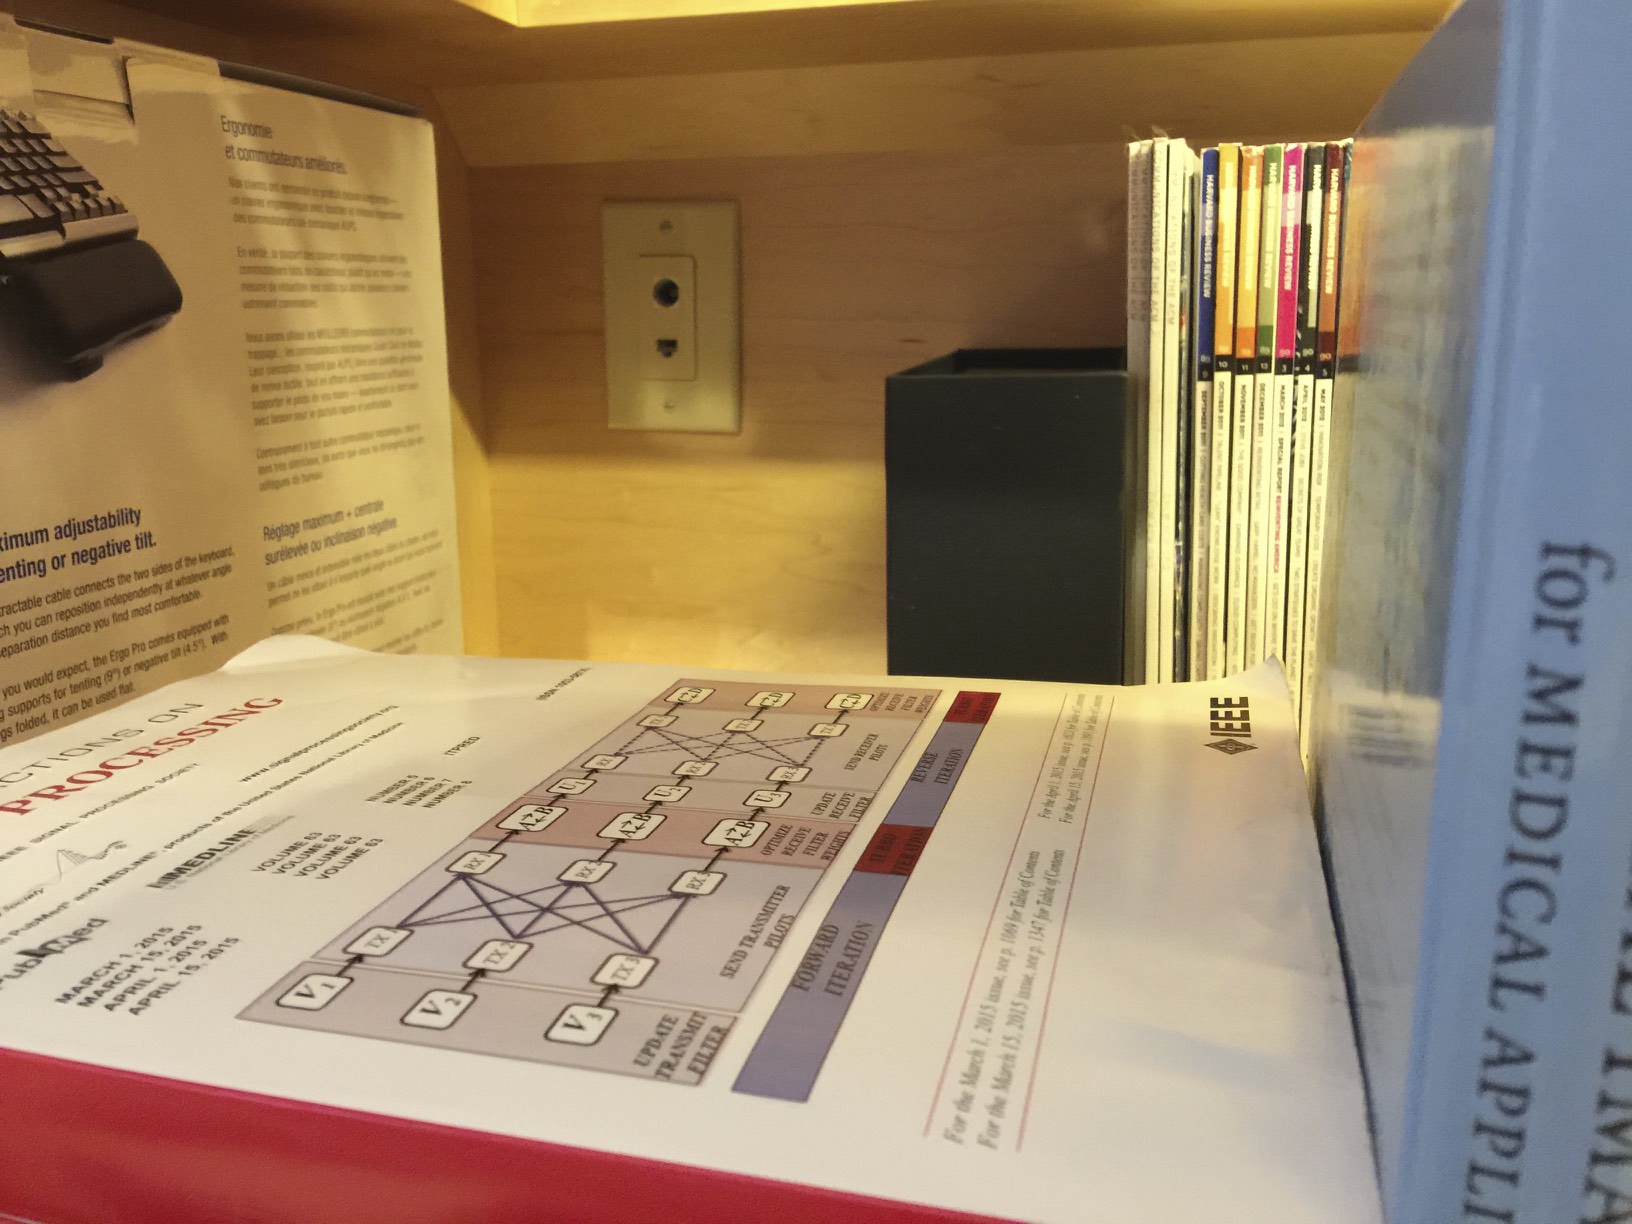
1. The deep shelves under the eaves have glass shelf insets to let in light to the back of the lower shelf. I’ve doubled up books on the bottom shelf, and this lets me see what’s back there if my eyes are aligned with the roof angle. The light spilling out above the books below makes the space feel more open that it would if it was dark:

2. The speaker posts, Ethernet ports, and power are in the back of the lower shelves where I thought I might want audio equipment. I also ran a 50 ft TOSlink in the bookcase from one end to the other, just in case I ever wanted it. One thing I did not consider was how difficult it would be to do the wiring because the shelf is fixed and only 10″ high. Having the removable glass panels turned out to be quite handy for that.
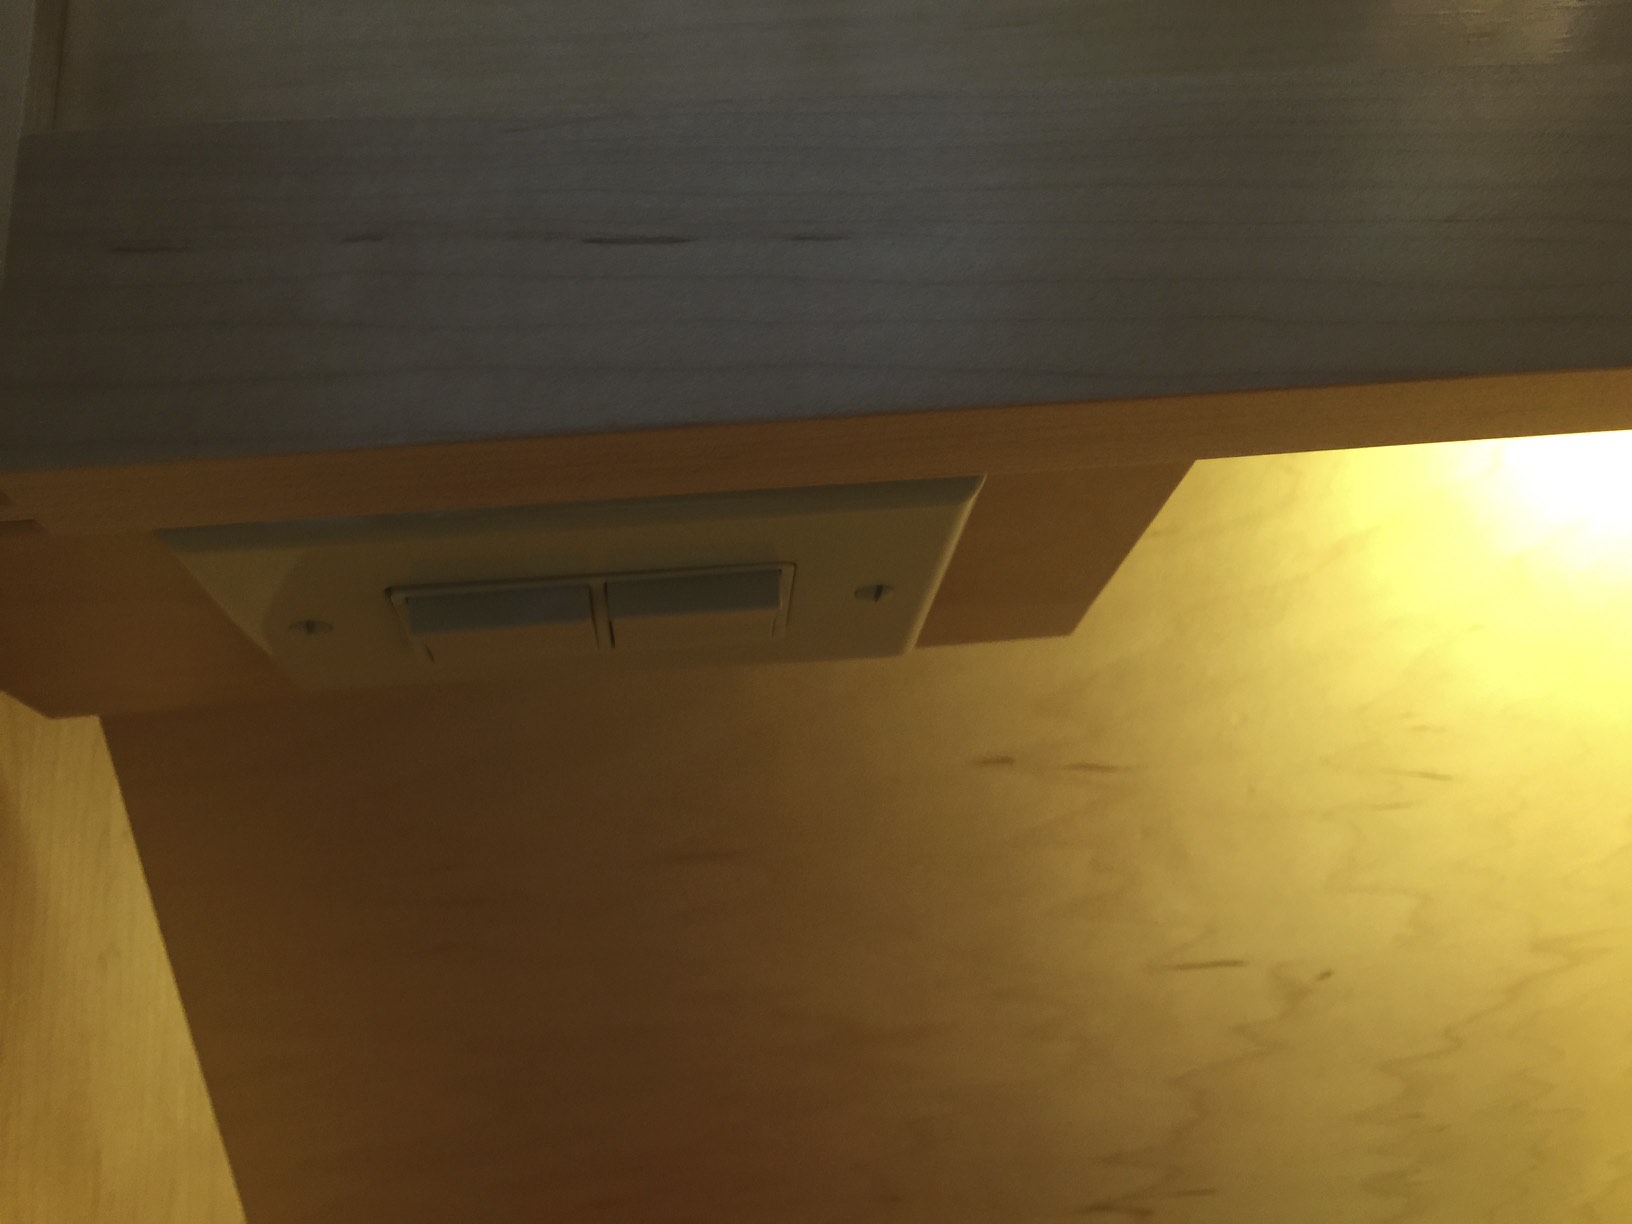
3. The light switch for the eave LEDs and the ‘A’ lights is hidden behind one of the shaker panels. It’s a double switch in a 1-gang box.


 I installed a Leviton ODS10-ID Decora Wall Switch Occupancy Sensor in a room in my basement with a cold-start fluorescent tube and an instant-start fluorescent tube (wired in parallel off the same switch) and it works great! I’ve tried some cheaper motion-sensing switches but they can’t control non-incandescent bulbs, especially cold-start fluorescent tubes.

